Keycloak integration
Introduction
Keycloak is a really common and powerful Open Source Identity Provider, often used as an Identity Broker.
Keycloak like Bravas can be used as your source Identity Provider, where you manage all your identities and federate your third party services.
But it is also quite often used as an Identity Broker by internal software teams as well as service providers.
The idea is that your custom apps use Keycloak as its internal directory (users, groups and roles) and let Keycloak have ownership of identity management.
Then, Keycloak can be set to allow app access using its own locally managed directory, or to be federated in cascades with an Enterprise IDP like Bravas.
This is the topic of this article, configuring a Keycloak realm for the purpose of identity federation.
This article only covers the configuration between Keycloak and Bravas, and let your developer team read the Keycloak documentation to use Keycloak as a microservice dedicated to directory operations.
Keycloak realms
Any Keycloak instance is organized with a system of realms. A realm can be seen as a tenant in the mindset of SaaS solution, which is quite true, but it is important to understand that a realm is actually a really specific keyword in identity management operations.
A realm is a global set of identities, groups, authentication methods, and binding services, that all work together. It represents the whole identity black box of your system.
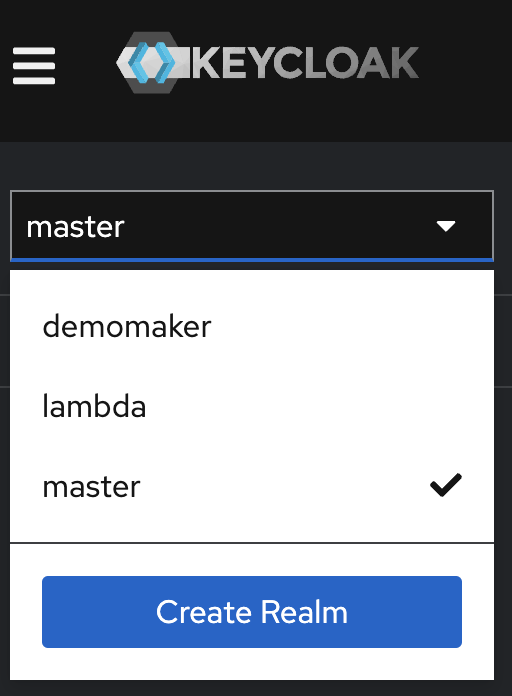
When working with Keycloak, be sure to never configure production services and identities in the master realm, which is used for the sole purpose of Keycloak instance management.
You access the master realm only to create additional realms that you will work on.
Depending on the context of use, you can create a realm per customer if you are a Cloud Provider offering multiple services across a single identity (if you are a competitor of Microsoft 365 for example).
Or you can create a realm per service if you are an organization with an internal development team where each service needs its own dedicated identity pool.
Those are the two main examples of use, but of course, you can invent whatever you want here, as long as it makes sense in terms of identity life-cycle and that you take care of customer and service isolation. Keep your work secure by design ;-)
Keycloak initial configuration
To federate a specific realm with Bravas, you need to go in the Identity Provider section of the main menu.
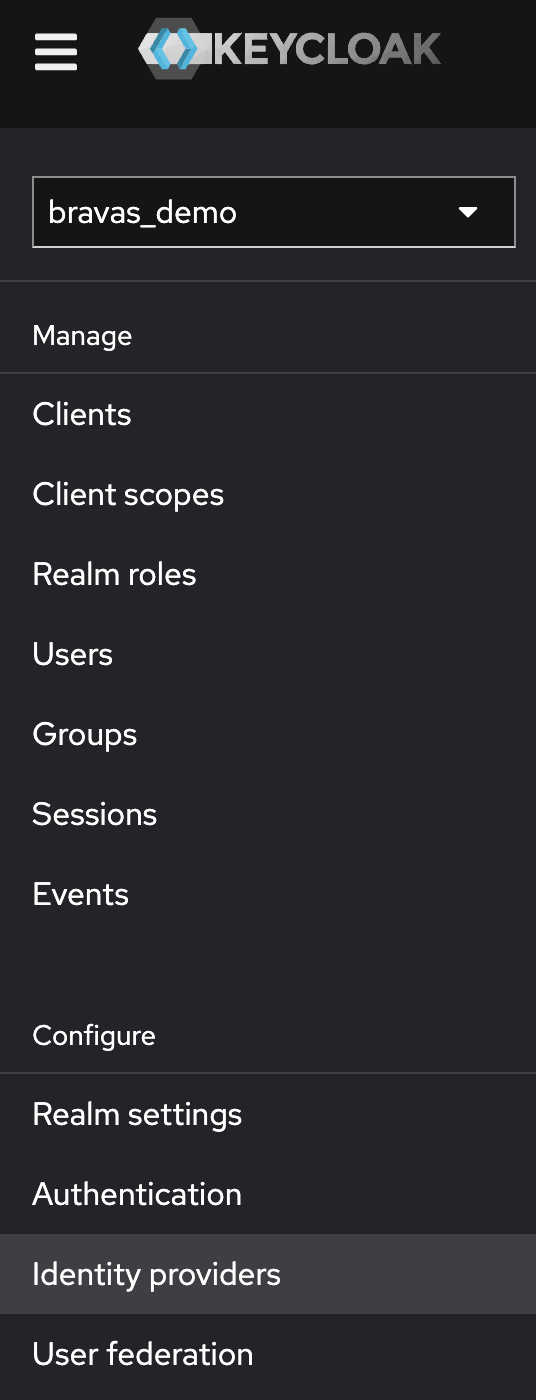
This section will allow you to create one or many identity providers for the same set of identities and can support many federation methods.
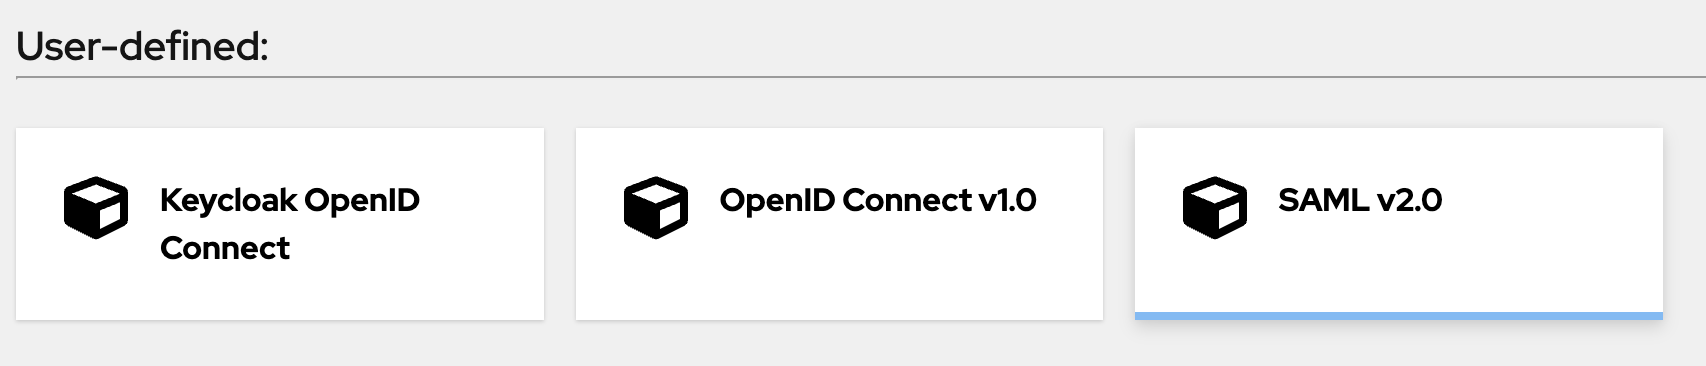
The User-defined section is the one that matters for a federation with an organization-owned IDP like Bravas. The second section is dedicated to social login, to use if you are a consumer service wanting to offer a Sign-in with GitHub feature, for example.
To work with Bravas, pick the SAML v2.0 option.
Let Keycloak for a while in a browser tab on the Add SAML provider view, and go to your Bravas tenant.
From Bravas, you want to open the admin console and add a SAML Metadata to your catalog of apps.
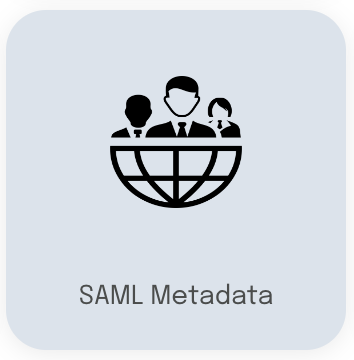
Once added, follow the configuration wizard to set the SAML options and copy at the second step the Bravas's metadata URL, something like https://YOUR_CORP.bravas.tech/idp/metadata.
Go back to the Keycloak tab without closing the Bravas tab, and copy this URL in the SAML entity descriptor field, and configure display information as well. Please be sure to keep the Use entity descriptor option enabled.
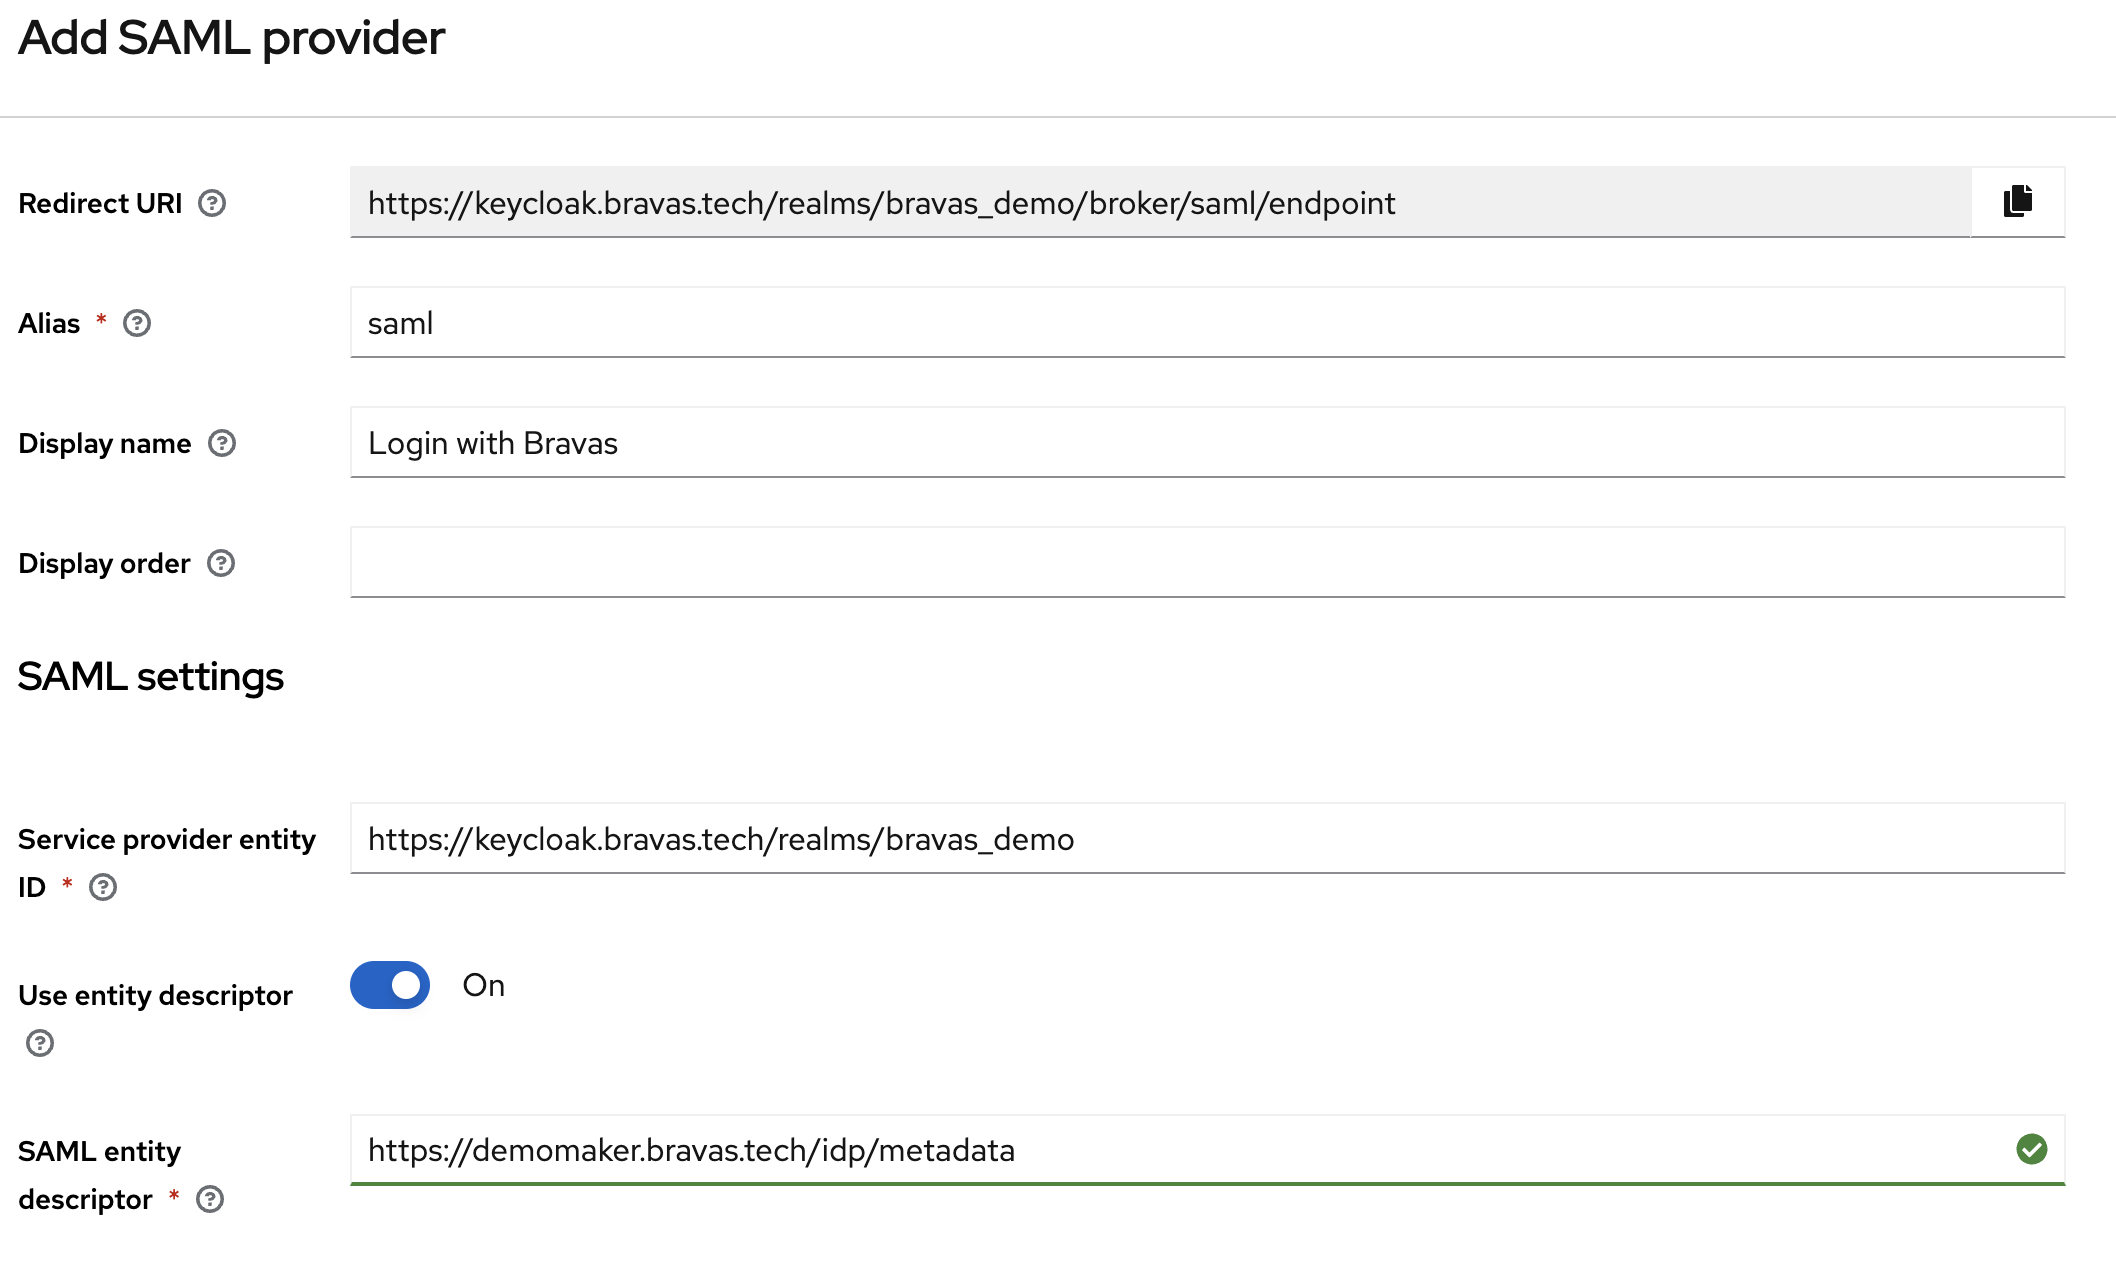
Once you are happy with your display information, you can add the provider, and you will see that Keycloak has read and copied the information from our metadata to autoconfigure itself.
From here, you will see in the first section of the view a SAML 2.0 Service Provider Metadata link.
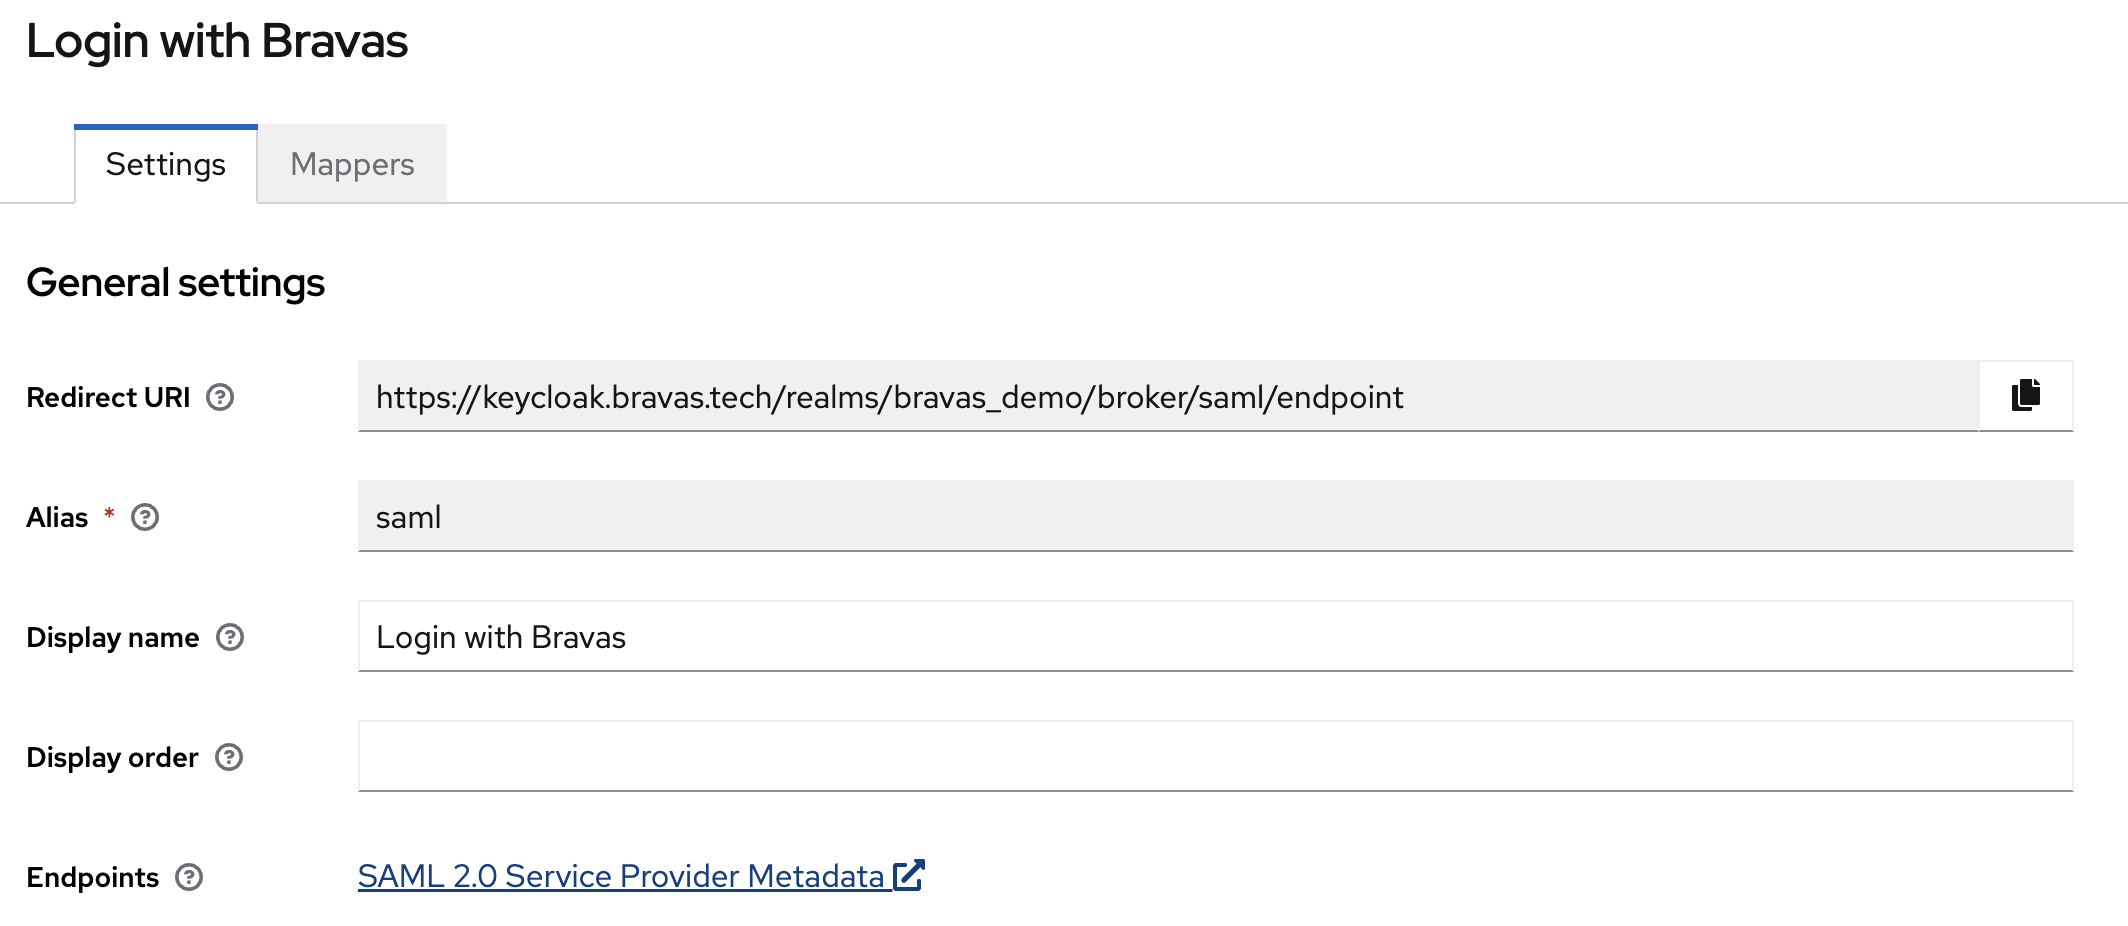
Copy that link and paste it in the next section of your Bravas wizards when SAML URL Metadata is asked for input.
Finally, go to your final step in Bravas and configure the launch URL to something meaning full for your app. Something that will, on your app, trigger the authentication flow with Keycloak.
Once you are done with that, you can move to the next section of that documentation, configuring the identity mapping with Keycloak.
Keycloak mappings
Back in the Keycloak tab of your browser, you will see at the top of the Bravas's integration details to Mappers tab where you need to go.
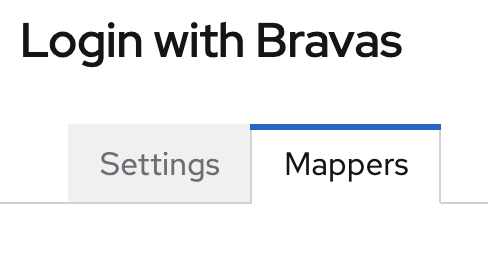
This section will allow you to instruct Keycloak about the SAML attribute to read in SAML Response returned by Bravas, and how to use it.
You need to add a mapper for each item in the following table, in accordance with our custom SAML standard answer. All Mappers in the following table need to use the Force synchronization mode, using an Attribute Importer mapper type and with a name format set to ATTRIBUTE_FORMAT_URI.
| Name | Attribute Name | User Attribute Name |
|---|---|---|
| Surname | urn:oid:2.5.4.4 | lastName |
| Given Name | urn:oid:2.5.4.42 | firstName |
| E-mail Address | urn:oid:0.9.2342.19200300.100.1.3 |
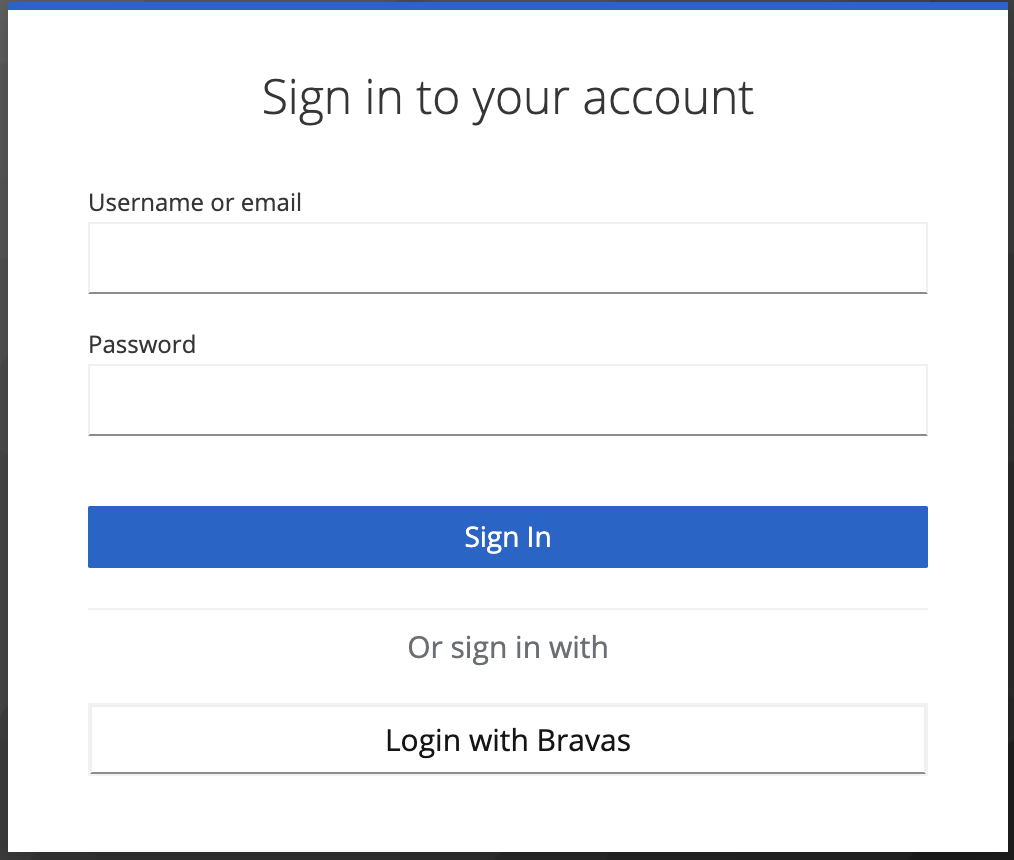
From here, you can authenticate with Bravas, even with a user that does not exist already, it will just create the account on first access. Do not forget to assign your app to some groups in Bravas.
Keycloak fine-tuning
Even if the current configuration is working, you can improve the user experience by making some small changes to the default configuration.
Trusted e-mails
To start, Keycloak has the management of validated e-mails, where users need to confirm their e-mail ownership by clicking on a link sent by Keycloak.
When working with Bravas, this process is not needed as Bravas is your point of trust. To consider all e-mails provided by Bravas as trusted, go back to the Identity Provider section on the main menu, click on your Bravas IDP, then scroll at the end of the page, in the Advanced settings section and enable the Trust Email feature.

Default Authentication Method
By default, Keycloak is made to allow a single identity to have multiple authentication method, and to link a Keycloak identity with more than one-third party identity provider. This is a really good and smart design to build for the future, to build for extension, to build for change. But this is a default behavior that might not be wanted for production purpose when internally to an organization you just want to have all your users federated with Bravas.
To change that behavior and allow your users to be authenticated by default with Bravas, you need to change the authentication flow for browser-based authentication.
In the main menu, click on the Authentication section, then on the Browser flow.
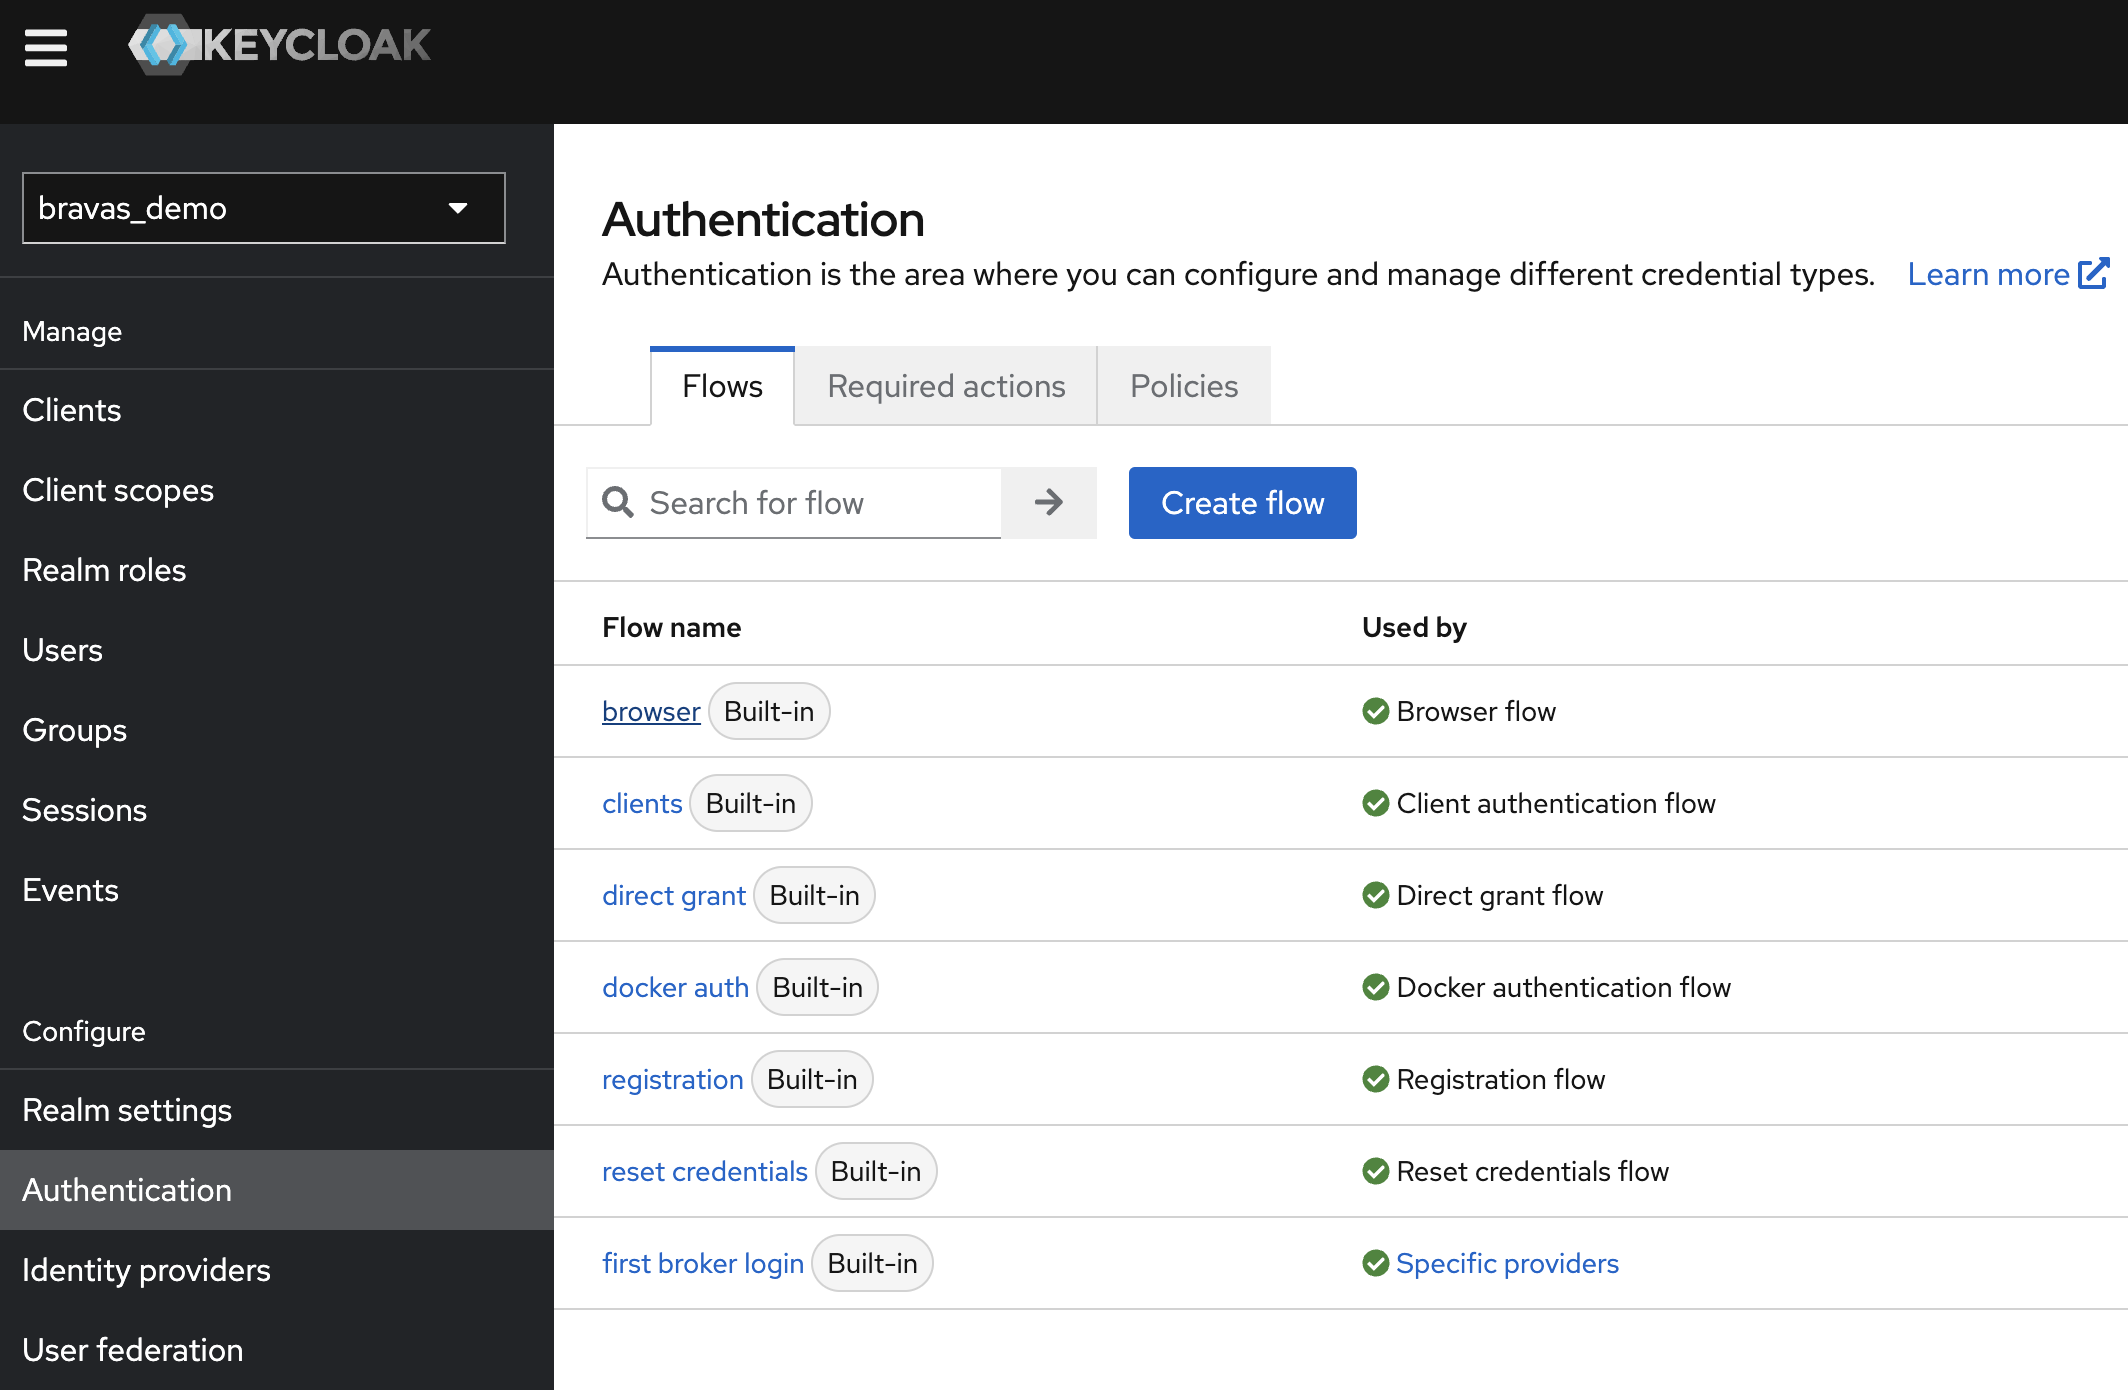
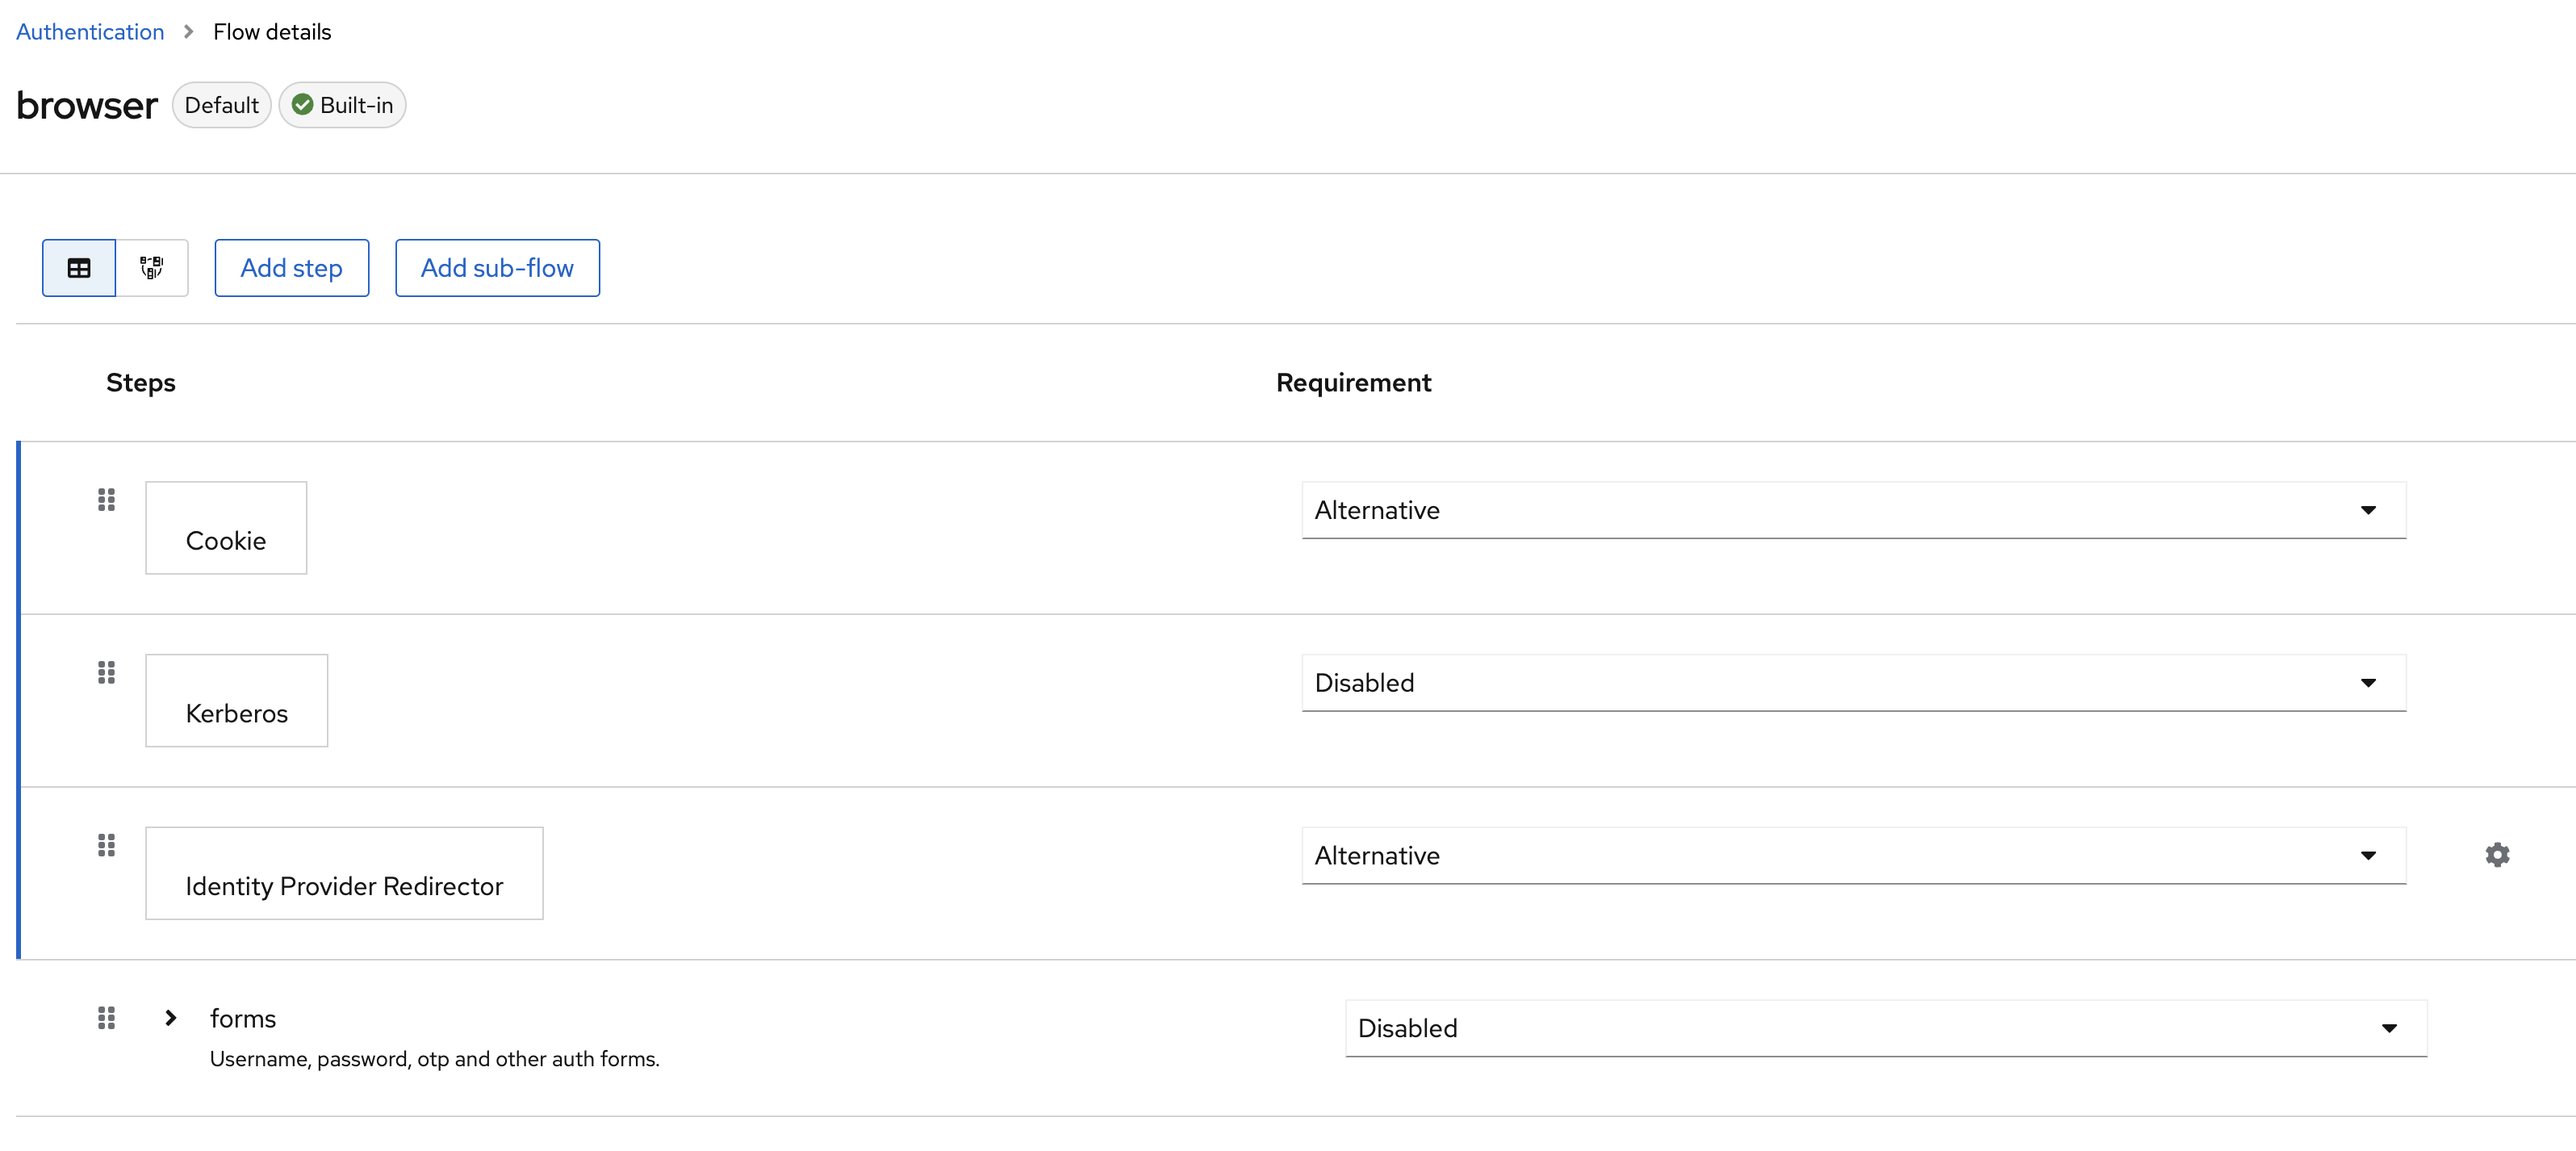
The browser flow allows settings to fine-tune the login experience, by setting up a series of authentication checks to pass to allow access. The default behavior is to check for a cookie-based authentication (for existing session) or to fall back to an interactive logon where both identity providers and password are accessible.
Change that flow to keep only cookies enabled and Identity Provider Redirector.
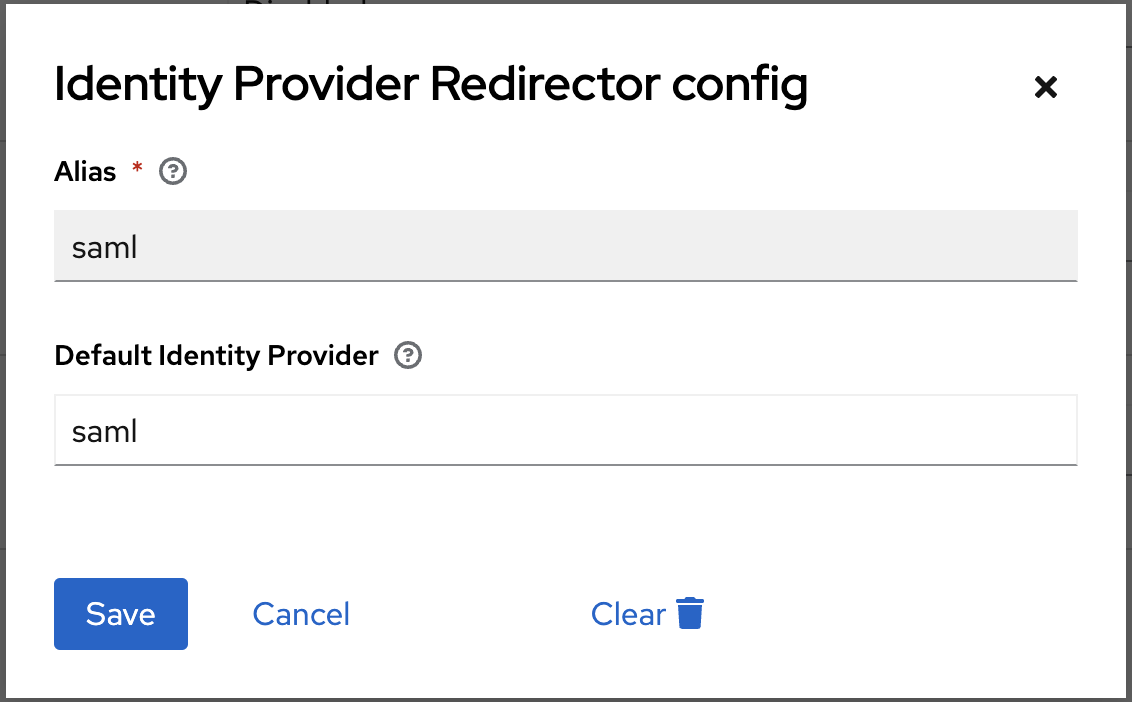
And you need to click on the gearbox on the identity provider line to set the alias of the default provider to use. By default, the first created is called saml. You can check that by going back on the Bravas's integration settings.
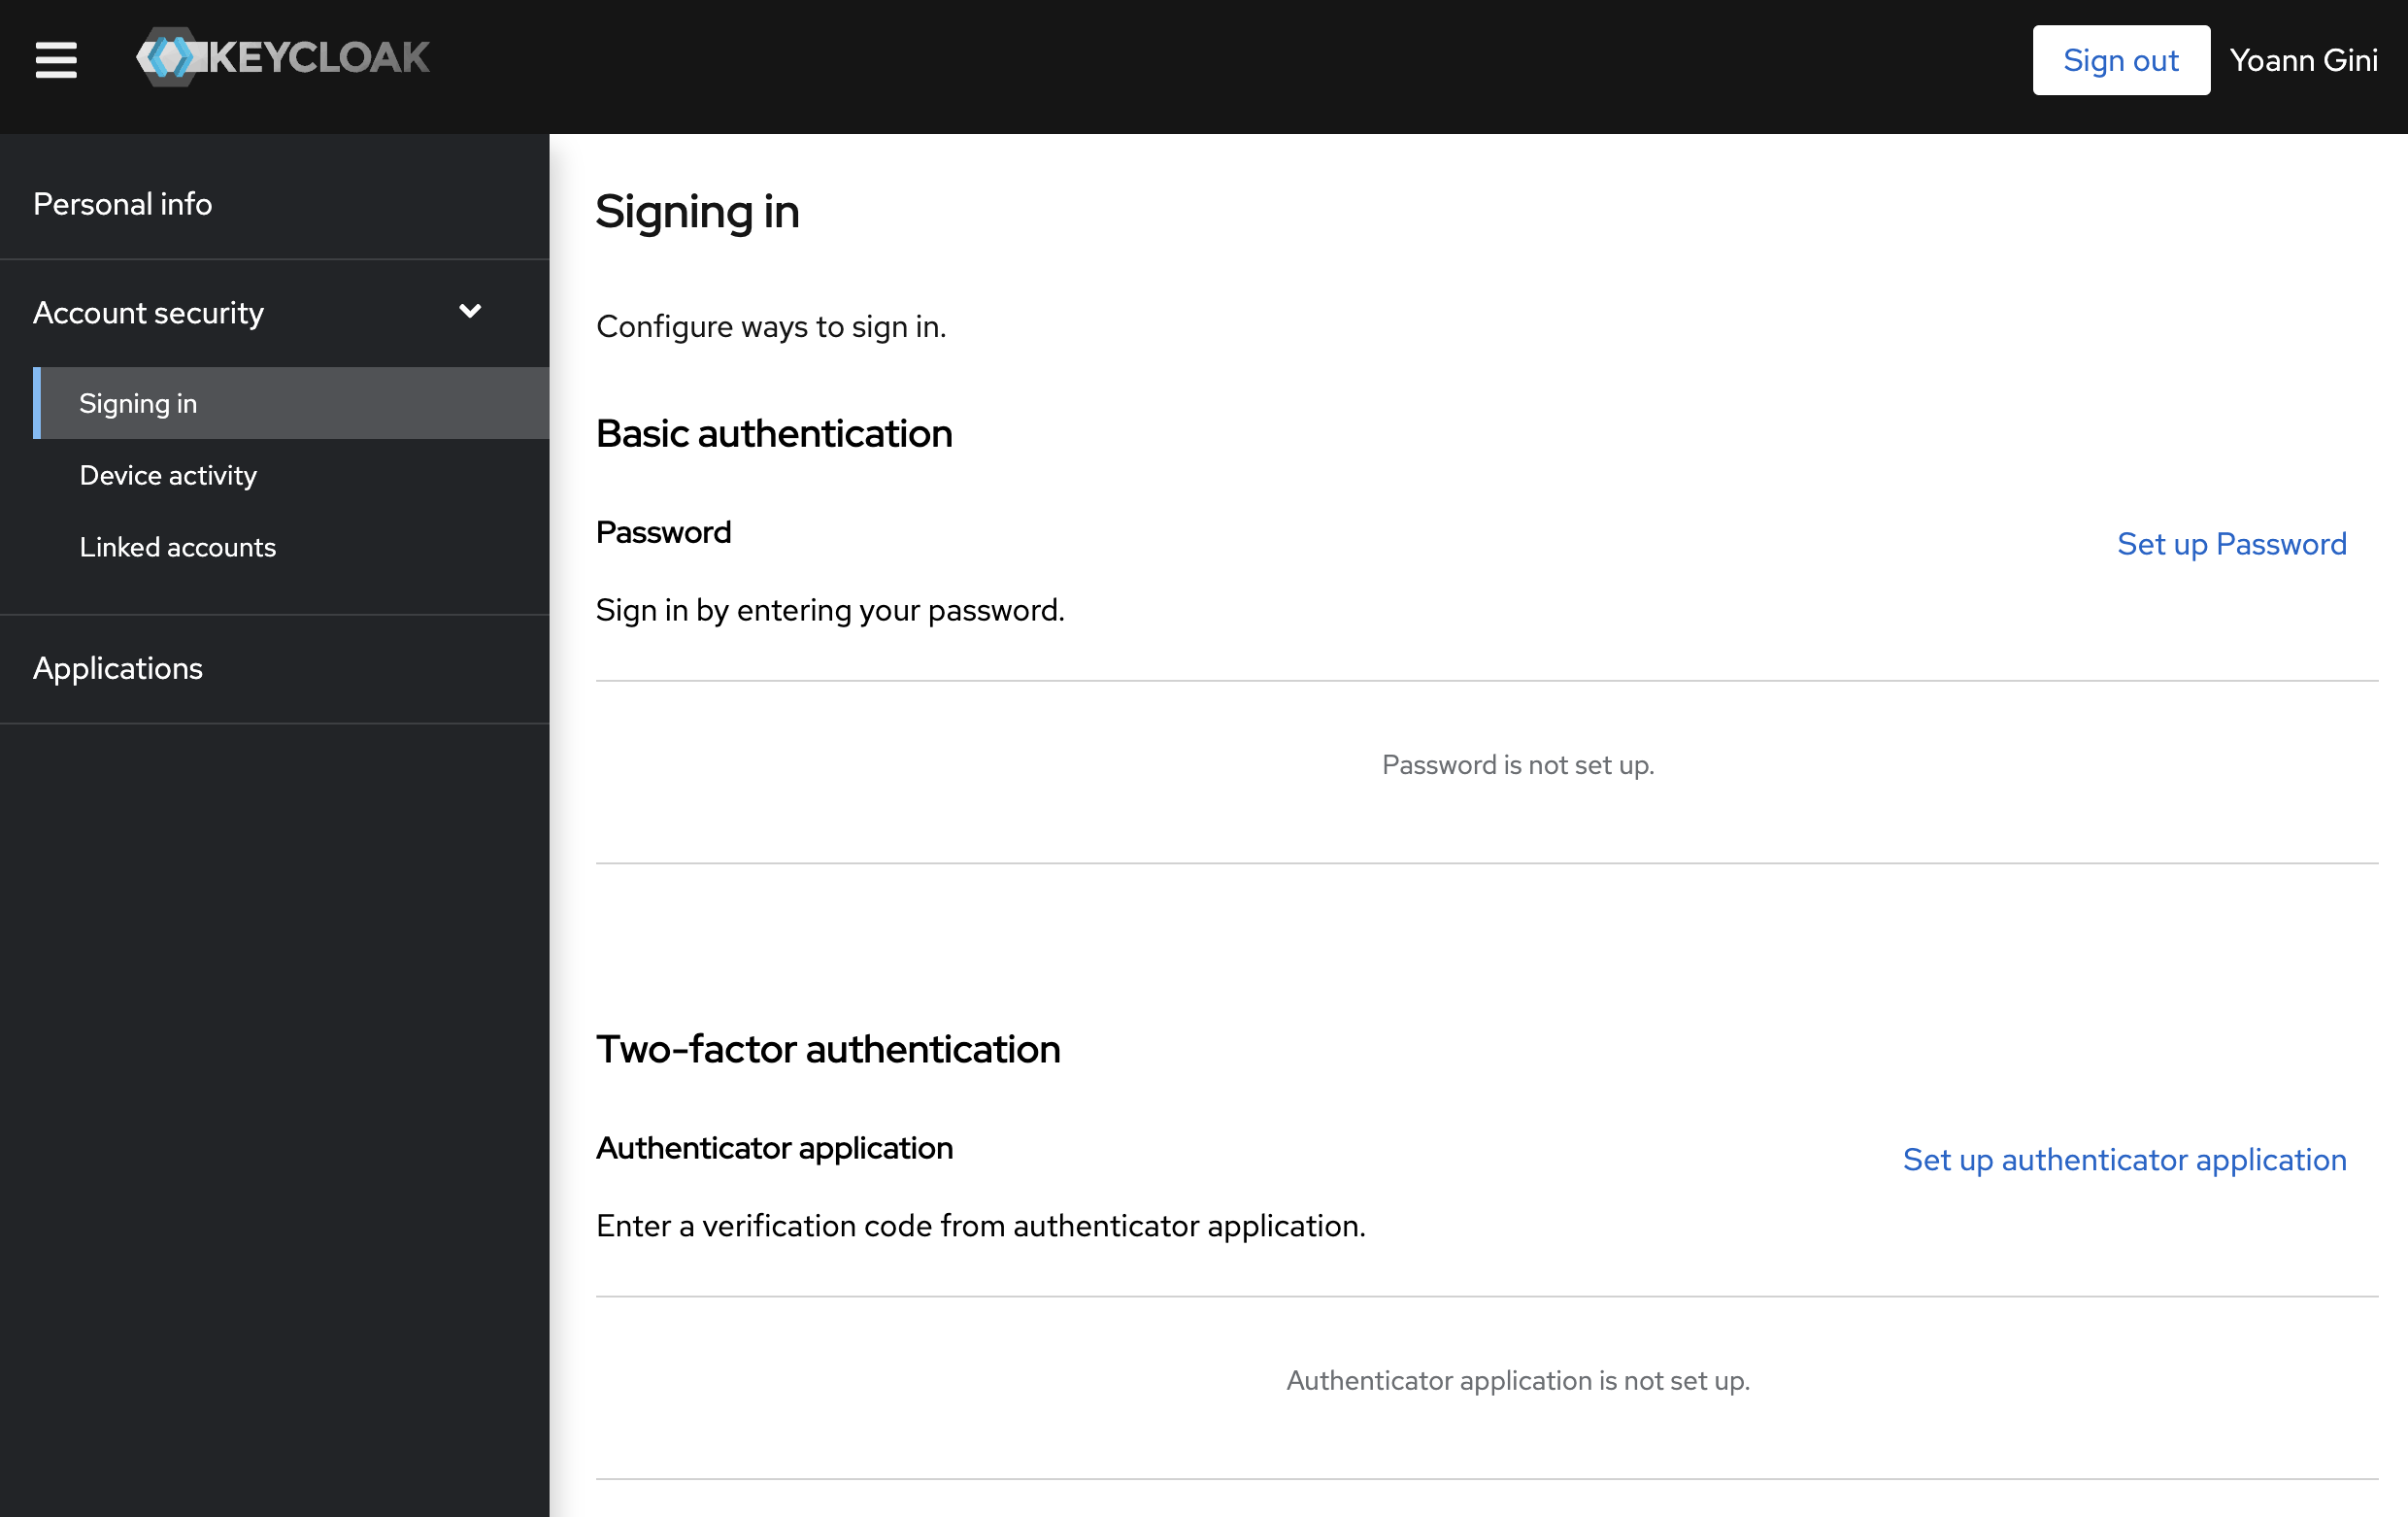
Disabling Password in the User Profile
If you use Keycloak's user profile, you can see that your users still have the settings needed to change their password and to register a second factor. Those options are not needed when using Bravas as Identity Provider and Keycloak as Identity Broker.
To update those options, you need to go to the Authentication section in the main menu, then in the Required actions tab to disable all options available. They are needed only for consumer service access or when Keycloak is your main identity provider.